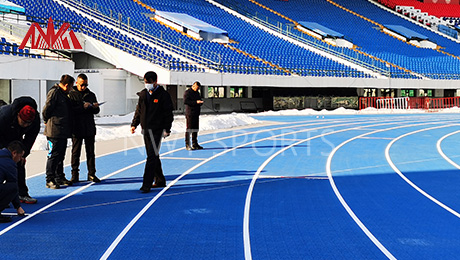
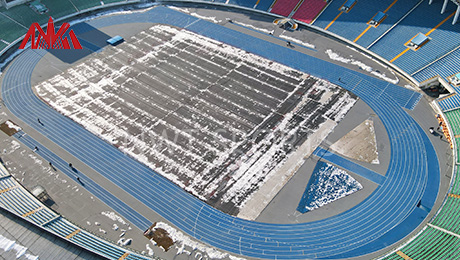
When it comes to building a reliable, durable, and high-performance running surface, rubber running tracks are the top choice for schools, stadiums, and athletic training facilities. However, the success of a rubber track project heavily depends on proper installation.
At NWT SPORTS, we specialize in high-quality prefabricated rubber running track systems and provide expert installation support to ensure long-lasting performance. In this guide, we’ll walk you through the complete process of rubber track installation—from base preparation to final surface finishing.
1. Site Evaluation and Planning
Before any physical work begins, thorough site inspection and planning are essential.
· Topographic Survey: Analyze ground levels, drainage, and natural slopes.
· Soil Analysis: Ensure soil stability to support the track structure.
· Design Considerations: Determine track dimensions (typically 400m standard), number of lanes, and usage type (training vs. competition).
A well-planned layout reduces long-term maintenance issues and optimizes athletic performance.
2. Sub-Base Construction
A stable sub-base is crucial for the track's structural integrity and water management.
· Excavation: Dig to the required depth (typically 30–50 cm).
· Compaction: Compact the subgrade to at least 95% Modified Proctor Density.
· Geotextile Fabric: Often used to prevent mixing of subgrade and base materials.
· Crushed Stone Layer: Usually 15–20 cm thick, offering drainage and load support.
Proper sub-base prevents cracking, settling, and waterlogging over time.


3. Asphalt Base Layer
A precisely laid asphalt layer provides a smooth and solid foundation for the rubber surface.
· Binder Course: First layer of hot mix asphalt (typically 4–6 cm thick).
· Wearing Course: Second asphalt layer to ensure levelness and uniformity.
· Slope Design: Typically 0.5–1% lateral slope for water drainage.
· Laser Grading: Used for precision leveling to avoid surface irregularities.
Asphalt must be fully cured (7–10 days) before the rubber surface installation begins.
4. Rubber Track Surface Installation
Depending on the track type, there are two primary installation methods:
A. Prefabricated Rubber Track (Recommended by NWT SPORTS)
· Material: Factory-produced EPDM+rubber composite rolls with consistent thickness and performance.
· Adhesion: Surface is bonded to asphalt with high-strength polyurethane adhesive.
· Seaming: Joints between rolls are carefully aligned and sealed.
· Line Marking: After the track is fully bonded and cured, lines are painted using durable polyurethane-based paint.
· Benefits: Faster installation, better quality control, consistent surface performance.
B. In-Situ Poured Rubber Track
· Base Layer: SBR rubber granules mixed with binder and poured on-site.
· Top Layer: EPDM granules applied with a spray coat or sandwich system.
· Curing Time: Varies depending on temperature and humidity.
Note: In-situ systems require strict weather control and experienced technicians.
5. Line Marking and Final Checks
After the rubber surface is fully installed and cured:
· Line Marking: Precision measurement and painting of lane lines, start/finish points, hurdle marks, etc.
· Friction & Shock Absorption Testing: Ensure compliance with international standards (e.g., IAAF/World Athletics).
· Drainage Test: Confirm proper slope and absence of water pooling.
· Final Inspection: Quality assurance checks before handover.
6. Maintenance Tips for Long-Term Performance
· Regular cleaning to remove dust, leaves, and debris.
· Avoid vehicle access or dragging sharp objects.
· Promptly repair any surface damage or edge wear.
· Repainting of lane lines every few years to maintain visibility.
With proper care, NWT SPORTS rubber running tracks can last 10–15+ years with minimal maintenance.
Get in Touch
Ready to start your running track project?
Contact us at [info@nwtsports.com] or visit [www.nwtsports.com] for a custom quote and free consultation.
Post time: Jul-11-2025
